After your vehicle has undergone repairs, it’s essential to ensure that the work was done correctly and that your car is safe to drive. This guide provides car owners with a step-by-step approach to inspecting their vehicle post-repair. Whether you’ve had minor work done or significant repairs following an accident, taking the time to check your vehicle thoroughly can help catch any issues before they become bigger problems.
Exterior Inspection
Your vehicle’s exterior is often the first area to show signs of any issues, making it a critical part of your post-repair inspection. Here’s how to evaluate the exterior of your car to ensure quality workmanship.
Body Panels and Paint
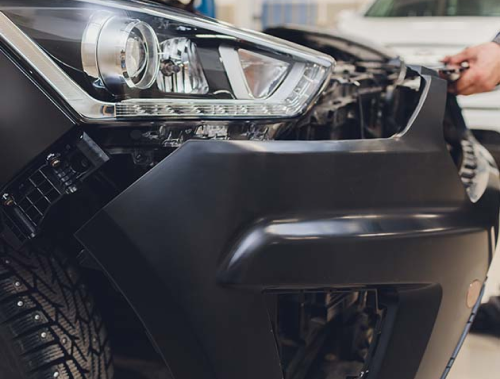
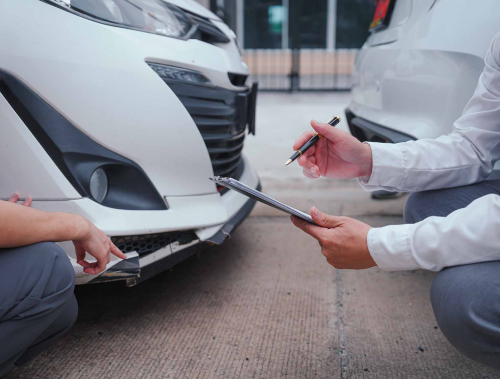
- Check for Alignment: Start by inspecting the alignment of the body panels. Ensure that all panels are properly aligned, with no gaps, unevenness, or misalignment. Proper alignment is crucial not only for aesthetic reasons but also for maintaining the structural integrity of your vehicle.
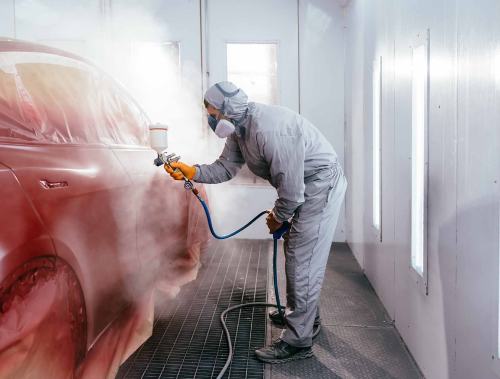
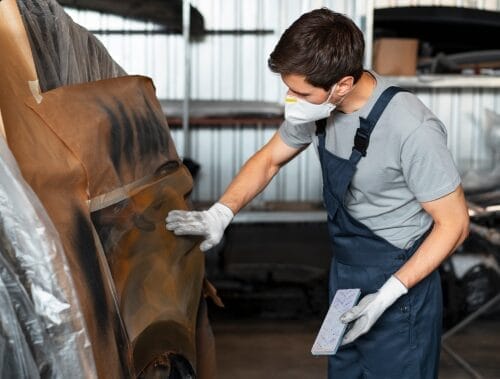
- Paint Quality: Next, examine the paint job. Look for consistency in color, texture, and finish. The paint should be smooth, with no visible drips, bubbles, or overspray. Any imperfections here could indicate rushed work or a lack of attention to detail.
Lights and Glass
- Headlights and Taillights: Verify that all lights, including headlights, taillights, and indicators, are functioning correctly. They should be securely fitted and aligned properly. Misaligned or non-functional lights can be a safety hazard.
- Windshield and Windows: Check the windshield and windows for any cracks, chips, or distortion. Even minor imperfections in the glass can worsen over time and may have been overlooked during the repair process.
Tires and Wheels
- Alignment and Balance: Ensure that the wheels are properly aligned and balanced. Misalignment can lead to uneven tire wear and can affect the handling of the vehicle. Test the alignment by driving straight and observing if the vehicle pulls to one side.
- Tire Condition: Inspect the tires for any damage, such as cuts, punctures, or uneven wear patterns. These could indicate issues that arose during the repair or existing problems that were not addressed.
Interior Inspection
After checking the exterior, it’s time to move inside the vehicle. The interior components should be functioning correctly and free from any damage that might have occurred during the repair process.
Dashboard and Controls
- Functionality: Test all the controls on the dashboard, including the steering wheel, lights, windshield wipers, and HVAC system. Each control should operate smoothly and without any delay. Malfunctioning controls can be a sign that something was missed or improperly reassembled during the repair.
- Warning Lights: Check for any new warning lights on the dashboard. These lights could indicate unresolved issues that need to be addressed by the repair shop before you drive the vehicle extensively.
Upholstery and Trim
- Condition: Inspect the upholstery and trim for any damage, stains, or marks that may have occurred during the repair process. The interior should be in the same or better condition as when you left it at the shop.
- Fit and Finish: Ensure that all interior panels and trim are securely attached and properly aligned. Loose or misaligned panels can lead to rattles or further damage down the line.
Mechanical Inspection
Ensuring that the mechanical aspects of your vehicle are functioning correctly is crucial for safety and performance. This section will guide you through the key mechanical checks you should perform.
Engine and Transmission
- Performance: Start the engine and listen for any unusual noises, such as knocking, ticking, or whining. The engine should idle smoothly and respond well to acceleration. Additionally, take the vehicle for a short drive to ensure that the transmission shifts smoothly between gears without any hesitation or jerking.
- Fluid Levels: Check all fluid levels, including oil, coolant, brake fluid, and transmission fluid. The levels should be within the recommended range, and there should be no signs of leaks under the vehicle or within the engine bay.
Brakes and Suspension
- Braking: Test the brakes by applying them at various speeds. The brakes should respond promptly without any grinding, squealing, or vibrations. Any issues with braking performance need to be addressed immediately.
- Suspension: Inspect the suspension by driving over a few bumps or rough surfaces. The vehicle should absorb the impacts smoothly without producing unusual noises or excessive bouncing. Problems with the suspension could indicate that the repairs were not completed properly.
Test Drive
The final step in your post-repair inspection is taking your vehicle for a test drive. This is crucial to ensure that the repairs were done correctly and that your car handles well on the road. During the test drive, pay close attention to how the vehicle performs, particularly in areas like handling, noise, and braking.
Road Test
- Handling: Start by assessing how the vehicle handles. Drive straight on a flat road and observe whether the car pulls to one side. It should maintain a straight path without requiring constant correction. If the vehicle drifts or pulls, this could indicate alignment issues or suspension problems that need to be addressed.
- Noise and Vibration: Listen carefully for any unusual noises or vibrations. These could be signs of unresolved issues from the repair, such as loose parts, misaligned components, or problems with the engine or transmission. Pay attention to noises during acceleration, braking, and while driving at various speeds.
- Acceleration and Braking: Test the vehicle’s acceleration and braking performance. The car should accelerate smoothly without hesitation or jerking. When braking, the response should be immediate and firm, without any grinding, squealing, or pulsation in the brake pedal. Any irregularities in acceleration or braking need to be reported to the repair shop for further investigation.
Communication with the Repair Shop
After completing your inspection and test drive, it’s important to communicate any findings with the repair shop. Open and clear communication ensures that any remaining issues can be resolved promptly.
Documenting Issues
- Record Findings: As you inspect your vehicle, document any issues or concerns you discover. This can include taking detailed notes, photos, or videos to capture the specific problems. Documentation is essential for clearly communicating with the repair shop and serves as evidence if there are any disputes about the repair quality.
- Communicate with the Shop: Once you’ve documented any concerns, contact the repair shop immediately. Explain the issues you found and provide your documentation to help them understand the problem. Most reputable repair shops will be eager to address your concerns and make any necessary adjustments or additional repairs.
Final Verification
- Follow-Up Inspection: If the shop performs additional repairs, conduct a final inspection to confirm that all issues have been resolved. This repeat inspection should be as thorough as the first, including another test drive if necessary. Ensuring that everything is in proper working order will give you peace of mind before you take your vehicle back on the road.
- Request Documentation: After the final inspection, request detailed documentation of all repairs performed, including any additional work done after your initial inspection. This documentation is important for your records and can be valuable if you encounter any further issues related to the repairs.
Conclusion
Inspecting your vehicle after repairs is a critical step to ensure that the work was done correctly and that your car is safe to drive. By thoroughly checking the exterior, interior, mechanical components, and conducting a test drive, you can catch any potential issues early and address them with the repair shop. Remember, clear communication with the repair shop and careful documentation of any concerns are key to resolving problems and ensuring your vehicle is in top condition. Taking these steps not only protects your investment but also ensures your safety on the road.

