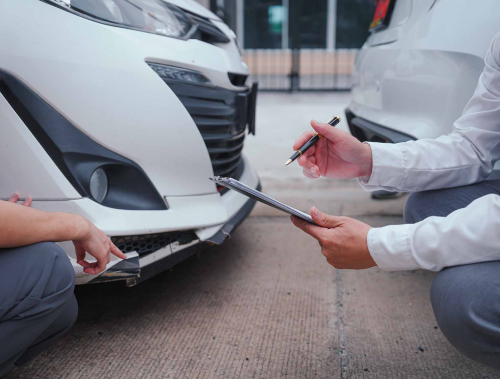
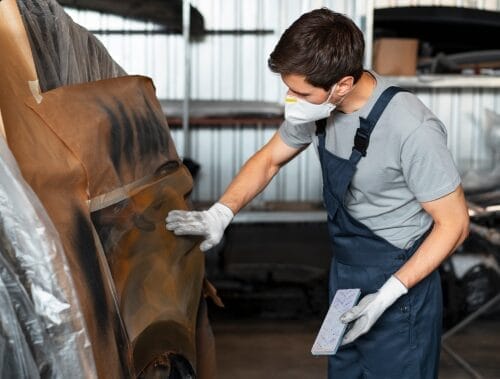
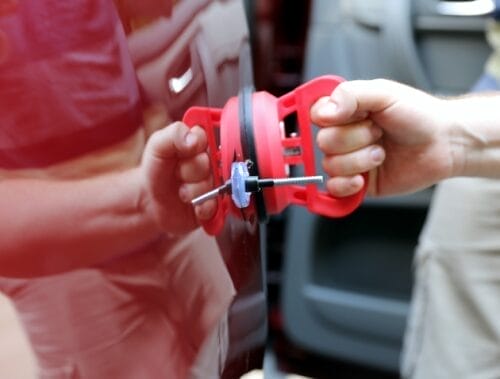
Preparing a vehicle for a paint job is a critical process that sets the foundation for a high-quality, long-lasting finish. Whether you’re a car owner looking to refresh your vehicle’s appearance, a DIY enthusiast eager to take on a new project, or an auto body repair shop professional, understanding the steps involved in preparation is essential. This guide will walk you through the key stages of vehicle preparation, incorporating practical insights such as specific surface repair services and the importance of using sealers, ensuring you achieve the best possible results.
Cleaning the Vehicle
Before any paint or primer touches the surface of your vehicle, it’s crucial to start with a clean slate. Proper cleaning removes dirt, grease, and other contaminants that could interfere with paint adhesion, leading to a flawless finish.
Washing the Surface
Explanation:
Thoroughly washing the vehicle is the first step in the preparation process. Dirt, grease, and other contaminants can prevent paint from adhering properly, leading to issues like peeling or uneven coverage. It’s essential to remove all surface grime to ensure the paint job lasts and looks great.
Techniques:
- Use a high-quality automotive soap and water to wash the entire vehicle, paying special attention to areas where dirt and grease are likely to accumulate, such as around the wheel wells and undercarriage.
- Consider using specialized cleaning agents that are recommended by professionals to break down stubborn contaminants.
- Rinse the vehicle thoroughly to remove any soap residue, which could also affect paint adhesion.
The image underscores the importance of starting with a clean surface, which is foundational for applying sealer or primer later in the process.
Degreasing
Explanation:
After washing, degreasing the vehicle is a vital step to remove any residual oils, waxes, or other substances that might remain on the surface. These can interfere with the paint’s ability to adhere evenly, leading to a subpar finish.
Techniques:
- Apply a high-quality degreaser to all areas of the vehicle, focusing on spots where oil or wax buildup is common, such as around the engine bay or on lower body panels.
- Use a clean, lint-free cloth to wipe the degreaser off, ensuring all residues are removed.
- Follow up with a final rinse to ensure the vehicle is completely clean and free from any contaminants.
This step is essential for achieving a smooth and even paint finish, reinforcing the detailed preparation steps depicted in the image.
Removing Parts and Trim
To ensure that non-painted areas remain free from overspray and that the paint job is clean and precise, it’s necessary to remove certain parts and trim pieces before starting the painting process.
Detaching Non-Painted Components
Explanation:
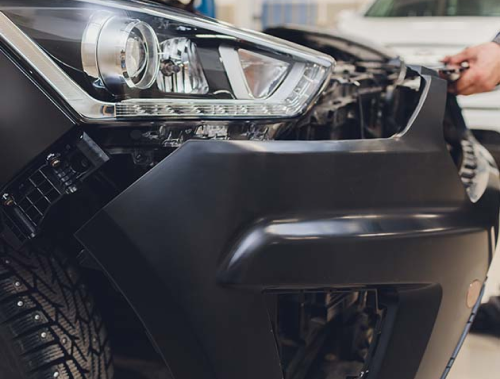
Removing parts such as mirrors, lights, and trim pieces helps prevent damage during the painting process and ensures a more professional finish. This step also allows you to reach areas that might otherwise be difficult to paint evenly.
Storage Tips:
- Carefully label each part as you remove it to ensure easy reassembly later. Use small bags or containers to store screws and fasteners, labeling them according to the part they belong to.
- Store the removed parts in a safe, clean area to avoid damage or loss. This attention to detail will make reassembly after painting much smoother and prevent any unnecessary delays.
The image suggests a thorough approach to vehicle preparation, which includes careful removal and storage of parts to avoid any accidental damage or overspray.
Repairing Body Damage
Before applying new paint, it’s crucial to repair any existing damage to the vehicle’s body. Addressing dents, scratches, and rust spots ensures that the new paint adheres properly and looks flawless.
Fixing Dents and Scratches
Explanation:
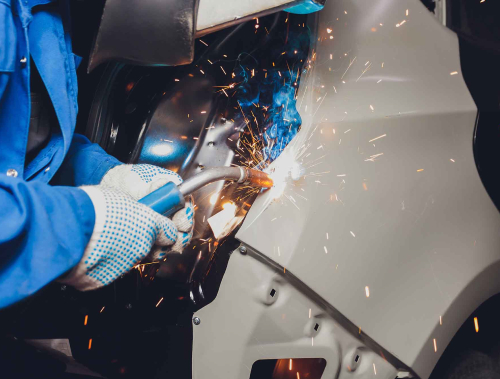
Repairing dents and scratches is a key step in preparing your vehicle for a paint job. Imperfections in the bodywork can become more pronounced after painting, so it’s important to address them before moving on to the next stages.
Techniques:
- Use body filler to repair dents and deep scratches. Apply the filler, allow it to dry, and then sand it down to a smooth finish.
- For minor imperfections, such as light scratches, services like Light Scratch/Chip Repair ($149.95) and Medium Scratch/Chip Repair ($199.95) are effective options, as highlighted in the image.
By ensuring that the vehicle’s surface is smooth and even, you lay the groundwork for a successful paint job.
Checking for Rust
Explanation:
Rust is a common issue that must be addressed before painting. If left untreated, rust can spread under the new paint, causing bubbling and peeling over time.
Techniques:
- Inspect the vehicle thoroughly for any signs of rust, paying particular attention to areas prone to moisture exposure.
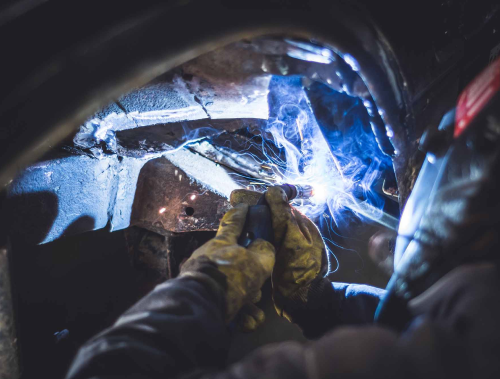
- Remove rust by sanding it down to bare metal, then treat the area with a rust converter to prevent it from returning.
- Once treated, apply a rust inhibitor and ensure the surface is smooth before proceeding with primer application.
The image’s focus on thorough surface preparation emphasizes the importance of dealing with rust before any painting occurs, ensuring the longevity and quality of the final paint job.
Sanding the Surface
Sanding the vehicle’s surface is crucial to creating a smooth, even base for the new paint. Proper sanding ensures that the paint adheres well and that the final finish is flawless.
Sanding Techniques
Explanation:
Sanding is necessary to remove any existing paint, smooth out surface imperfections, and create a texture that helps the new paint adhere better. This step is vital for achieving a professional-looking finish.
Grit Levels:
- Start with coarse sandpaper (around 80-120 grit) to remove old paint or to sand down body filler.
- Move to a medium grit (220-320) to smooth out the surface and remove any sanding marks left by the coarser grit.
- Finish with fine grit sandpaper (400-600) to create a smooth surface ready for primer application.
By following this progression, you ensure that the vehicle’s surface is perfectly prepared for the next stages of painting.
Wet Sanding
Explanation:
Wet sanding is a technique used to achieve an even finer finish, particularly before applying the primer. This method involves using water to lubricate the sandpaper, reducing friction and minimizing the risk of scratches.
Techniques:
- Soak fine-grit sandpaper (typically 600-1000 grit) in water for about 10-15 minutes before use.
- Sand the surface gently in a circular motion, keeping the area wet at all times to prevent buildup on the sandpaper.
- Wipe the surface with a clean, damp cloth to remove any residue and check for smoothness.
Masking and Taping
After all the cleaning, degreasing, and sanding, the next crucial step in preparing your vehicle for a paint job is masking and taping. This process is essential for protecting areas of the vehicle that should not be painted, ensuring a clean, professional finish.
Protecting Non-Painted Areas
Explanation:
Masking and taping involve covering parts of the vehicle that you do not want to be painted, such as windows, tires, mirrors, and trim. Proper masking is critical to avoid overspray—where paint unintentionally lands on areas it shouldn’t. This step not only prevents unwanted paint coverage but also ensures that the painted areas have clean, sharp edges, contributing to the overall quality of the finish.
Best Practices:
- Use High-Quality Masking Tape: Choose a tape that is specifically designed for automotive use. It should be strong enough to adhere well during the painting process but not so strong that it damages the surface when removed.
- Cover Large Areas: Use masking paper or plastic sheeting to cover larger areas like windows and tires. Ensure that the material is tightly secured to prevent any paint from seeping underneath.
- Pay Attention to Edges: For clean, sharp paint lines, carefully press down the edges of the tape. This helps to prevent any paint from bleeding under the tape and creating a jagged line.
- Double-Check Coverage: Before starting to paint, double-check that all areas you don’t want to be painted are properly covered and secured. This final check can save you from the hassle of dealing with overspray issues later.
By following these best practices, you’ll ensure that your paint job looks professional, with crisp lines and no unwanted paint coverage on non-painted areas.
Priming the Vehicle
Once masking and taping are complete, the next step in preparing your vehicle for a paint job is applying the primer. Primer serves as the foundation for your paint, helping to ensure that it adheres properly and lasts longer.
Applying Primer
Explanation:
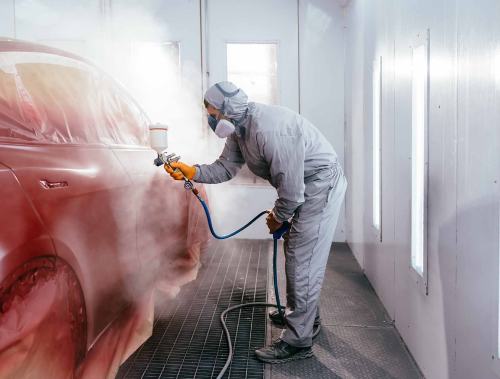
Primer is a critical layer in the painting process. It enhances the adhesion of the paint to the surface, creates a smooth base, and can help prevent rust. The type of primer you use depends on the condition of the vehicle’s surface and the type of paint you plan to apply. For example, the image highlights the use of Universal Sealer ($99.95) and Urethane single stage ($799.95) as part of the priming process, each offering different levels of protection and smoothness.
Application Tips:
- Preparation: Ensure that the vehicle’s surface is completely clean and dry before applying primer. Any remaining dust or moisture can affect the primer’s adhesion and the overall quality of the paint job.
- Number of Coats: Apply the primer in several thin, even coats rather than one thick coat. This method helps to avoid drips and ensures better coverage. Typically, two to three coats of primer are sufficient.
- Drying Time: Allow each coat of primer to dry fully before applying the next one. This step is crucial for building a strong base and preventing issues like bubbling or peeling later on.
- Even Application: Use smooth, steady strokes when applying the primer, maintaining a consistent distance from the surface. This technique helps achieve an even, uniform coat.
A well-applied primer is key to achieving a durable, long-lasting paint job, so taking the time to apply it correctly is essential.
Sanding the Primer
Explanation:
Once the primer has dried, it’s important to sand it down to create an ultra-smooth surface for the paint. Sanding the primer removes any small imperfections and ensures that the paint will lay evenly and adhere properly.
Techniques:
- Fine-Grit Sandpaper: Use fine-grit sandpaper (typically 600-800 grit) for sanding the primer. This grit level is ideal for smoothing the surface without removing too much of the primer.
- Wet Sanding: Wet sanding can be particularly effective at this stage. By using water to lubricate the sandpaper, you can achieve an even smoother finish while minimizing the risk of scratches.
- Inspect the Surface: After sanding, wipe the surface with a clean, damp cloth to remove any dust. Then, inspect the surface to ensure it’s completely smooth and free of imperfections.
Properly sanding the primer is crucial for ensuring that the final paint job is as flawless as possible, echoing the meticulous surface preparation emphasized in the image.
Final Surface Inspection
Before applying the final coat of paint, it’s essential to perform a thorough inspection of the vehicle’s surface. This step is your last chance to catch any imperfections that could mar the final finish.
Checking for Imperfections
Explanation:
A final inspection helps ensure that the surface is completely smooth and ready for painting. Any missed imperfections—such as scratches, dust particles, or uneven areas—can ruin the final paint job, making this a critical step in the preparation process.
Correction:
- Spot Sanding: If you find any small imperfections, sand them down gently using fine-grit sandpaper. Be careful not to sand too aggressively, as this could remove too much primer.
- Reapply Primer if Necessary: For larger imperfections, you may need to reapply a small amount of primer and sand it down again once it dries. This extra step ensures that the surface is flawless before painting.
- Clean the Surface: After making any corrections, clean the surface again to remove any dust or debris.
By addressing any issues during this final inspection, you’ll set the stage for a smooth, professional-looking paint job.
Conclusion
Preparing your vehicle for a paint job involves several critical steps, each contributing to the overall quality of the final result. From thorough cleaning and degreasing to careful masking, priming, and sanding, each stage is designed to create a perfect base for the new paint. The importance of proper surface repair, sealing, and meticulous preparation, as highlighted in the image, cannot be overstated. By following these steps, you’ll be well on your way to achieving a high-quality, professional finish that will last for years to come.

